I have had numerous requests lately for the instructions on how to make paper from Bunya. The parts I use are what Auntie Beverly Hand, Kabi Kabi elder and bunya advocate, calls the shuckings. The shuckings are the parts we peel off when we get the kernel out of a bunya cone. Now I’m going to explain that papermaking is a complex process. It is not something I can explain in a sentence or even a paragraph. If you really want to make bunya paper you will have to assemble the following equipment:
10 L buckets with lids (2)
an outdoor cooking area
access to water from a hose or tap
a large vat with a lid
large sieve ( a water tank filter works)
mould and deckle for papermaking
couching pad
a stack of couching cloths
and, of course, a nice big pile of Bunya shuckings
After I open up the bunya cone and peel out the kernels, I’m left with a pile of shuckings. To turn them into paper, the pile of shuckings needs to be placed in a large pot of water with two tablespoons of washing soda. Washing soda makes the solution alkaline. This softens the fibres and makes the tough husks break down. For this cooking process you need a dedicated pot. Don’t use one that you are going to cook food in. Cook in an outside area like a bbq or campfire. Breathing in those fumes in a confined space can give you a headache.
This cooking process is going to take 2 to 3 hours, so set a timer and assemble your other equipment. Stay close by so you can stir occasionally and see it doesn’t boil over.
Once the pot has cooled, the fibres need rinsing. The mixture is very alkaline at this point you can add some white vinegar, about half a cup, to a 10 litre pot. Let that stand for 10 minutes or so that the pH becomes even throughout. Then you can drain that liquid off without harming your grass or your plants.
Obviously this all needs to be done outside and you need a large sieve because you’re going to rinse the fibres three times with fresh water in order to remove any alkaline residues from the fibres. By the third rinse, you should have a pile of brown stuff that looks a little bit like tangled hair.
For the next stage you need either a Hollander beater or a heavy duty blender. A heavy-duty blender will reduce that tangled hair to a smooth pulp. The main thing to remember is to add plenty of water, don’t load it up too much with your Bunya shuckings.
The next items you need are a big vat and a mould and deckle. The mould and deckle has to be able to fit into the vet and be submerged in the pulp, so check that you’ve got a vat large enough. The clear ones from the cheap shops do not last long, especially if you are taking them around for workshops. Bunnings sell a more heavy duty type of vat in black with a yellow lid. These last longer.
Once each blender load is done, pour the contents into the vat. Do as many blender loads as you need to get all your fibres finely pulped. Once your fibres are blended in the water, they are called pulp. More water will probably be needed for the next step. You also need sufficient depth of pulp to submerge your mould and deckle. The you make the sheet by dunking the mould and deckle in the pulp and pulling it up quickly. You can shake it a bit to disperse the fibres evenly across the screen of the mould. Once you’ve got a good layer of pulp spread over your mould, carefully remove the deckle. It’s only there to stop the pulp from draining off too quickly. Next step in your papermaking adventure is called couching. For this stage, if you haven’t made paper before, I suggest you watch my free Youtube video at https://zela.com.au/tutorials-are-live/. Click on Botanical papermaking.
Couching
The next step in the paper making process is called couching. The term couching comes from the French verb couchir (to lie down). What couching does is remove the paper pulp from your mould onto your cotton cloth.
On your table or workbench beside your vat of pulp you now need a couching pad. You can make a couching pad with some old towels and newspapers. The aim is to create a smooth, curved surface for the paper pulp to come off the mould. You also need a stack of cut up sheets and towels or other old recycled items. You need to pile up these couching cloths with a thick layer then a thin layer. For example you might have a piece of old blanket then a piece of old sheet or an old nappy then a piece of old curtain. It’s best to use natural fibres such as wool and cotton and you need to cut those into pieces a little larger than the size of paper you want to couch. A4 is the size of a photocopy sheet but you can get mould and deckles in A5, which is half that size and also A3 which is twice that size. For A3 you are going to need a quite large vat.
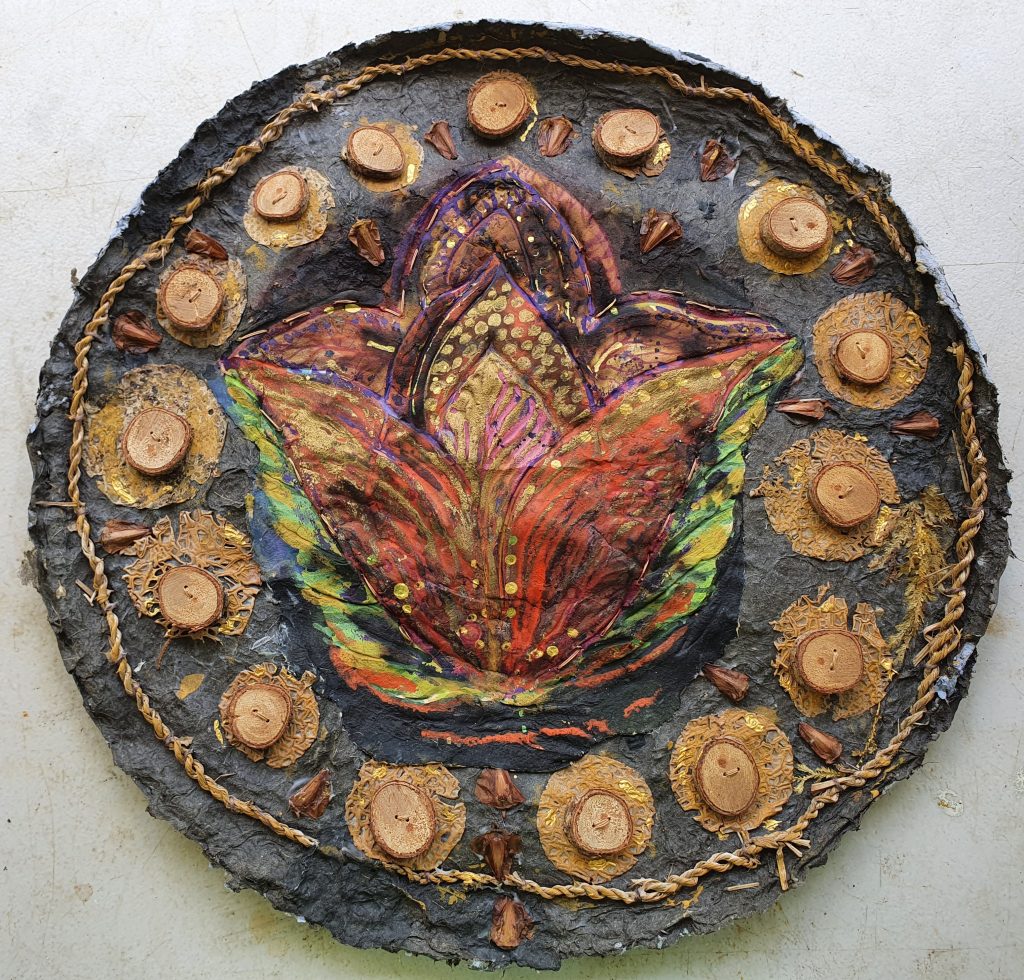
You can keep couching one on top of the other, putting a thick layer on top of your wet sheet of paper than a thin one. Onto this thin one you will couch the next sheet. You can pile them up on your couching pad until about 20 deep. This is called a “post of papers”. The soft papers at this stage are referred to as water sheets. My Bunya usually gives a dark reddish brown. This may vary however with different Bunya trees and areas because I do notice quite a lot of variation in the cones and different areas. Different soils and climates might also influence the result. I have made the bunya paper for about five years and the result is always a bit different.
Once you have used up all your pulp and you can’t get a good layer covering your mould, then it is time to press your post of paper to remove some of the water. The simple low-tech way to do that is to get a couple of absorbent boards like HardiPlank and carefully put the whole pile, with all the cloths, onto the bottom board and then put another piece the same size on top. I have seen all sorts of devices rigged up with car jacks and so on to squeeze and press the moisture out of these papers but all I usually do is initially stand on it and then put a heavy bucket of pulp on top overnight.
The next morning I separate out all the water sheets which should be still adhering to the thinner cloth that you couched them onto. Now your papers can be dried! One way to do it is to leave your watersheet stuck to its backing sheet and peg them up on the clothesline as long as it’s a dry day or under cover if it’s wet. Rain will wash all the pulp off those backing sheets and you will have nothing left to show for your efforts. As the sheets dry, they do buckle and warp, so the next stage is to carefully peel them off the backing sheets.
To flatten them, you need to find your Hardieplank boards (once dry) and put the bucket back on or perhaps you’ve got some old heavy books that you can use to press those papers flat. This can take a few days. Once the sheets are pressed flat, your paper making with bunya is complete. You’ll have some dark reddish brown, rough textured pieces of something like paper onto which you can now draw with inks or fold into shapes. If you want a lighter and smoother paper, the bunya pulp can be mixed half and half with some office waste or art scraps. The uses are only limited by your imagination. Good luck with your Bunya paper!

2 comments on “Making Bunya Paper”
Joolie
Good description of the process zela.
Zela
Thanks Joolie!